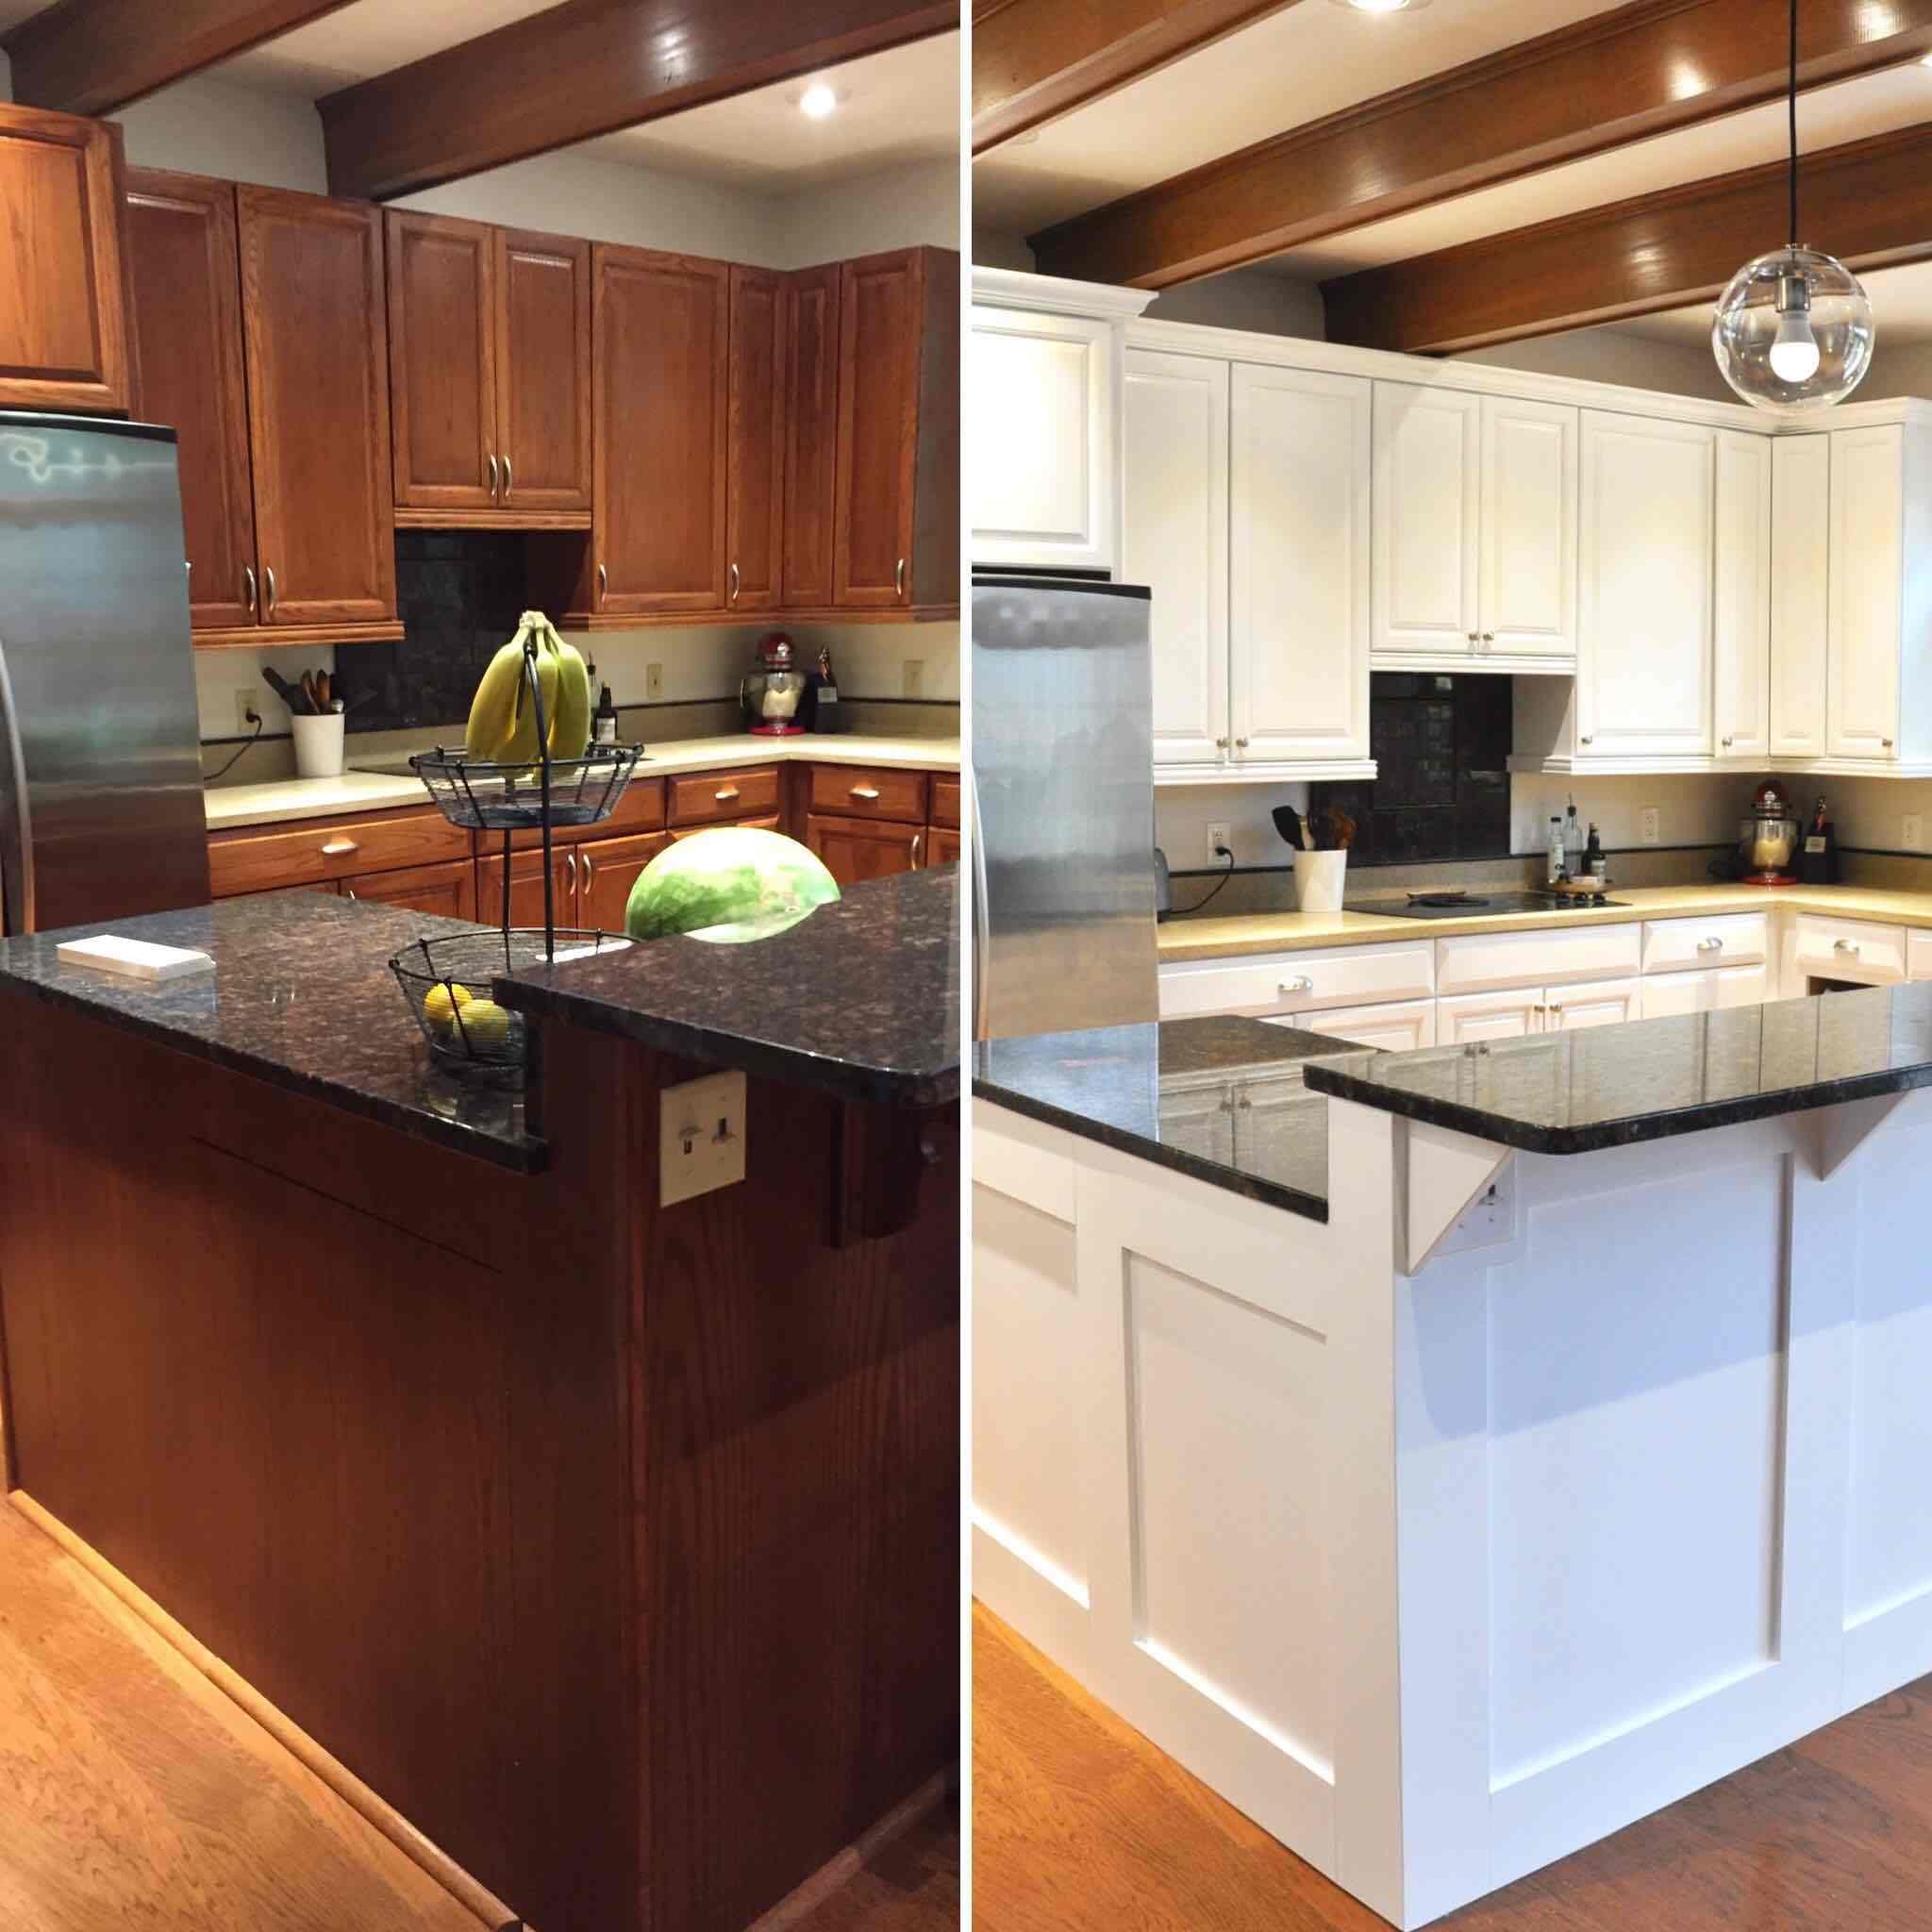
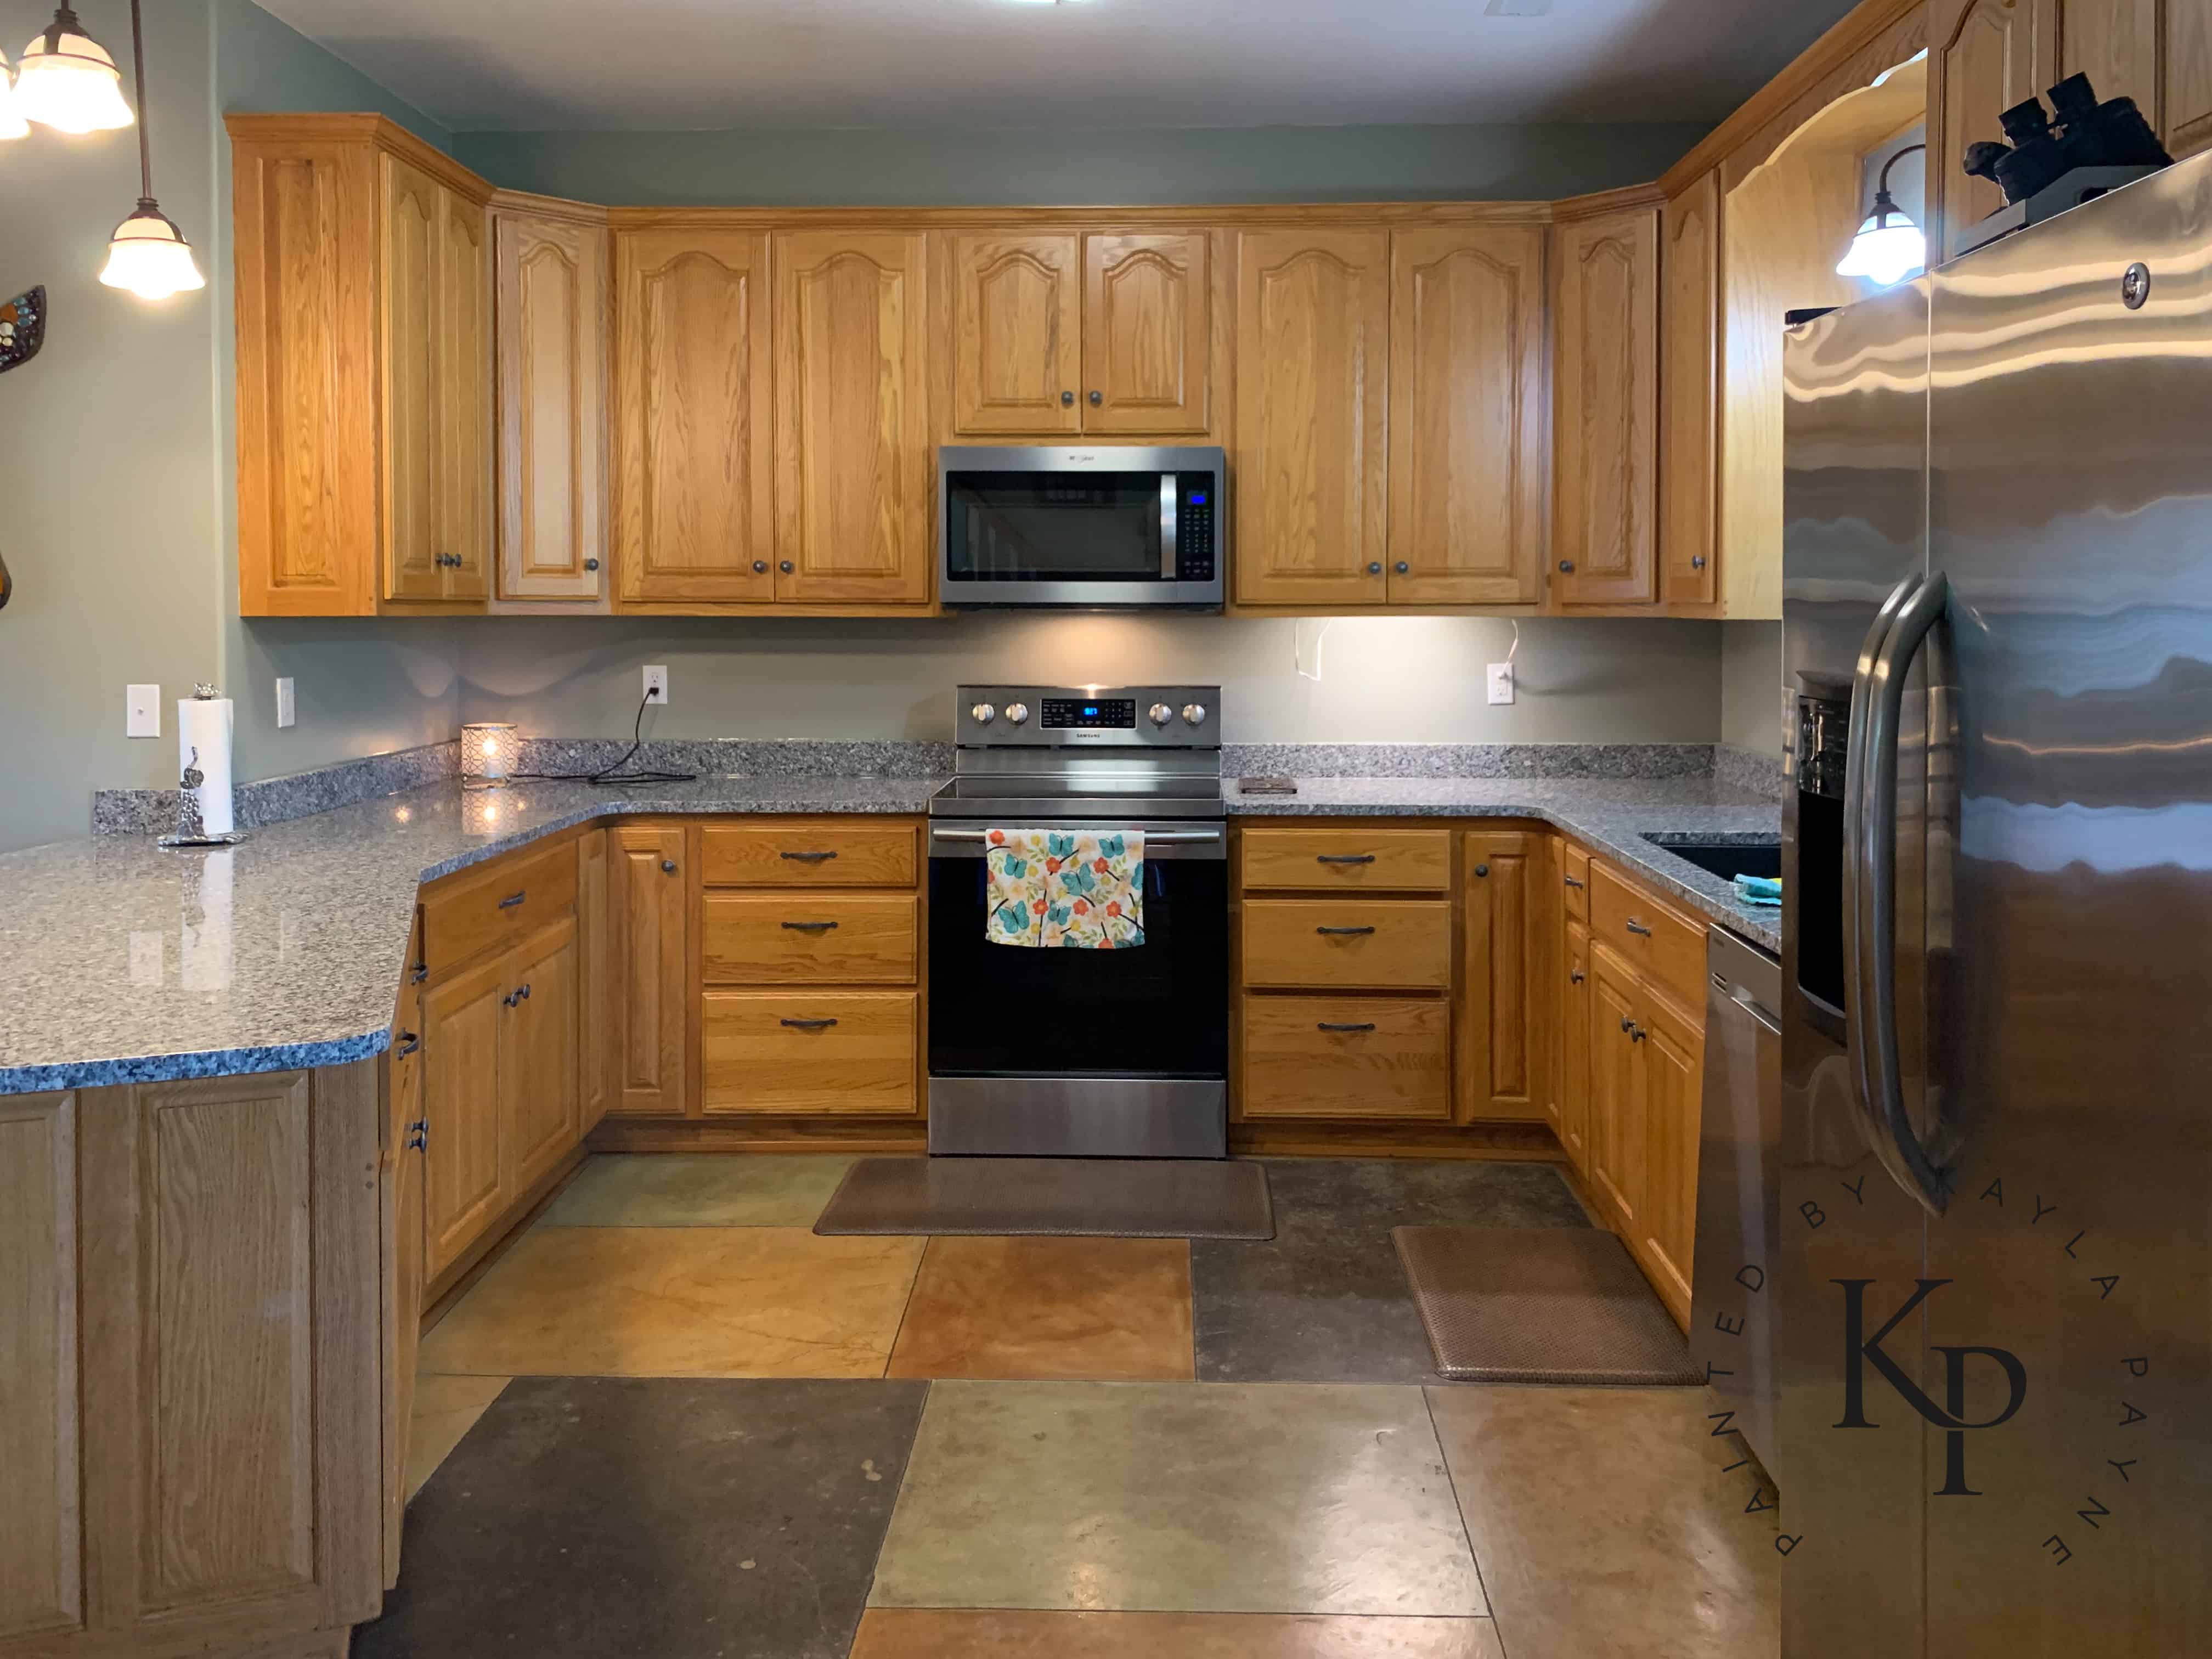
Preparing Oak Cabinets for White Paint

Transforming oak cabinets into a crisp white requires meticulous preparation to ensure a flawless finish and prevent the wood grain from showing through. This involves careful sanding, priming, and filling, all crucial steps to achieve a professional result.
Sanding Oak Cabinets for a Smooth Surface, Paint oak cabinets white hide grain
Proper sanding is paramount to create a surface receptive to paint and minimize grain bleed-through. Multiple sanding stages, using progressively finer grits, are necessary to achieve the desired smoothness. Begin with a coarser grit to remove any imperfections and gradually move to finer grits to refine the surface. Always sand in the direction of the wood grain to avoid creating scratches.
A typical sanding sequence might begin with 80-grit sandpaper to remove any major imperfections or previous finishes. This is followed by 120-grit to smooth out the surface further. Then, 180-grit and finally 220-grit sandpaper will produce a very smooth surface ready for priming. For particularly stubborn imperfections, consider using a random orbital sander for the coarser grits and switching to hand sanding with finer grits to ensure even results and avoid excessive sanding in one area. Between each grit change, thoroughly remove all sanding dust using a tack cloth or vacuum cleaner. This will prevent the dust from embedding itself into the surface and creating a rough finish.
Priming Oak Cabinets to Seal the Grain
The choice of primer is critical in preventing the oak’s natural color and grain from bleeding through the white paint. Several types of primers offer varying benefits and drawbacks.
| Primer Type | Pros | Cons | Application Notes |
|---|---|---|---|
| Oil-Based Primer | Excellent adhesion, good grain sealing, durable | Strong odor, longer drying time, requires mineral spirits for cleanup | Apply in thin, even coats, allowing ample drying time between coats. Use appropriate ventilation. |
| Water-Based Primer | Low odor, easy cleanup with soap and water, faster drying time | May require multiple coats for complete grain sealing, less durable than oil-based | Apply in thin, even coats, allowing adequate drying time between coats. Stir frequently. |
| Shellac-Based Primer | Excellent grain sealing, fast drying time | Can be sensitive to moisture, may require multiple coats | Apply in thin coats, allowing each coat to dry completely. Use a tack cloth to remove dust between coats. |
For painting oak cabinets white, a high-quality oil-based or shellac-based primer is generally preferred for its superior grain-sealing properties. However, water-based primers have improved significantly and can be a viable option for those sensitive to strong odors. The best choice depends on individual preferences and environmental considerations. Regardless of the primer chosen, apply at least two coats, allowing each coat to dry completely before applying the next.
Using Wood Filler to Address Imperfections
Before priming, address any significant imperfections, such as knots, gouges, or deep scratches, using a high-quality wood filler. Choose a filler that matches the color of the oak as closely as possible to minimize its visibility after sanding. Apply the filler according to the manufacturer’s instructions, ensuring it’s level with the surrounding surface. Once dry, sand the filled areas smooth with progressively finer grits of sandpaper, matching the smoothness of the surrounding wood. This will create a seamless surface ready for priming and painting. For larger imperfections, multiple applications of filler and sanding may be necessary to achieve a level surface.
Painting Techniques for a Smooth, White Finish
Achieving a flawlessly smooth, white finish on oak cabinets requires careful consideration of painting techniques and paint selection. The inherent grain and texture of oak present unique challenges, demanding meticulous preparation and application to prevent an uneven or blotchy result. The right approach ensures a durable and aesthetically pleasing finish that enhances your kitchen’s beauty.
Painting oak cabinets white necessitates a multi-faceted approach to minimize the appearance of brush strokes and ensure complete coverage. Three primary techniques—brush painting, roller painting, and spray painting—each offer distinct advantages and disadvantages for this specific task.
Brush Painting
Brush painting offers a level of control and precision ideal for detailed work, such as reaching into corners and around intricate cabinet details. High-quality brushes with synthetic bristles are recommended for smooth paint application and to minimize bristle marks. However, brush strokes are more visible with this method, requiring multiple thin coats and careful blending to achieve a seamless finish. The process is also more time-consuming than other methods.
Roller Painting
Roller painting provides faster coverage than brush painting, particularly on large, flat surfaces. Using a high-density foam roller with a short nap minimizes texture and prevents roller marks. However, rollers struggle to access tight spaces and corners effectively. Careful attention is required to avoid leaving roller marks and ensure even coverage in all areas. Priming is particularly crucial with roller painting to prevent the absorption of paint into the wood grain, leading to an uneven finish.
Spray Painting
Spray painting offers the fastest and most even coverage, resulting in a virtually seamless finish free from brush or roller marks. However, it requires specialized equipment and proper ventilation to prevent inhaling paint fumes. Overspray can also be an issue, requiring careful masking of surrounding areas. Spray painting is best suited for larger projects and those with experience using spray equipment.
Paint Selection for Kitchen Cabinets
The choice of paint significantly impacts the final look and durability of your painted cabinets. Different paint sheens offer varying levels of durability and sheen, influencing the overall aesthetic.
The following table summarizes the characteristics of common paint sheens suitable for kitchen cabinets:
| Paint Sheen | Benefits | Drawbacks |
|---|---|---|
| Eggshell |
|
|
| Satin |
|
|
| Semi-gloss |
|
|
Applying Multiple Coats of Paint
Applying multiple thin coats of paint is crucial for achieving a professional finish. Each coat should be allowed to dry completely before applying the next, following the manufacturer’s recommended drying time, typically 2-4 hours. This allows for proper adhesion and prevents the coats from lifting or cracking.
A step-by-step guide for applying multiple coats includes:
1. Apply the first coat: Use even, smooth strokes, ensuring complete coverage.
2. Allow to dry completely: Follow manufacturer’s drying time recommendations.
3. Lightly sand (optional): Gently sand between coats with fine-grit sandpaper (220-grit) to smooth out any imperfections. Wipe away dust with a tack cloth.
4. Apply subsequent coats: Repeat steps 1-3 for each additional coat, usually 2-3 coats are necessary for optimal coverage and hiding power. For areas with drips or runs, carefully sand them smooth before applying the next coat.
5. Final Inspection: Carefully inspect the finish once fully dry. Address any remaining imperfections with light sanding and touch-up paint.
To prevent runs and drips, maintain a wet edge while painting. This means keeping the wet paint from one area overlapping slightly with the wet paint in the adjacent area. Work in manageable sections to avoid letting the paint dry before you can blend it.
Advanced Techniques and Troubleshooting: Paint Oak Cabinets White Hide Grain

Transforming your oak cabinets from their natural state to a stunning white finish requires attention to detail and a proactive approach to potential problems. This section delves into advanced techniques for achieving specific white paint finishes and offers solutions for common painting pitfalls. Mastering these techniques will ensure a professional-looking result that you’ll be proud of for years to come.
Achieving Specific White Paint Finishes
The desired finish – high-gloss, matte, or distressed – significantly impacts your material choices and application methods. High-gloss finishes, for instance, require meticulous surface preparation and multiple coats of high-quality gloss paint, each carefully sanded to a smooth, even surface. Conversely, a matte finish prioritizes a less-perfect surface, allowing for a more relaxed approach to sanding. Distressed finishes involve techniques like dry brushing or applying a glaze to create an aged appearance, adding another layer of complexity.
High-gloss white demands a flawless surface. Begin with a high-quality primer designed for cabinets, ensuring complete coverage and sealing the wood grain. Follow with at least three coats of a high-gloss enamel paint, lightly sanding with fine-grit sandpaper (220-grit) between coats to eliminate any imperfections. A smooth, even application is key. Use a high-quality brush or sprayer for a professional finish, maintaining even pressure and consistent strokes.
Matte white offers a softer, more forgiving approach. While surface preparation remains crucial, the less reflective nature of matte paint masks minor imperfections more effectively. Choose a high-quality matte paint formulated for cabinets, applying two to three coats. Minimal sanding is usually sufficient between coats.
A distressed white finish embraces imperfections. After painting with a base coat of white, apply a glaze or a tinted paint wash over certain areas. Then, using a dry brush or a rag, partially remove the glaze to reveal the base coat, creating a weathered, aged look. This technique adds character and depth, making minor imperfections part of the design.
Troubleshooting Common Painting Problems
Painting cabinets, even with careful preparation, can present challenges. Understanding the causes and solutions for common problems is vital for a successful project.
| Problem | Cause | Solution | Prevention |
|---|---|---|---|
| Drips and Runs | Applying paint too thickly, working in excessively hot or humid conditions, or using paint that’s too thin. | Lightly sand down the drips and runs once dry, then reapply a thin, even coat of paint. | Apply paint in thin, even coats; work in a cool, dry environment; use paint of appropriate viscosity. |
| Uneven Coverage | Insufficient priming, inadequate sanding between coats, or using low-quality paint. | Lightly sand the affected areas, then apply another coat of paint. Consider using a primer specifically designed for staining or difficult surfaces. | Ensure complete primer coverage; sand thoroughly between coats; use a high-quality paint suitable for cabinets. |
| Paint Bleed-Through | Insufficient priming or using a primer that doesn’t effectively seal the wood. | Apply a stain-blocking primer before painting. For severe bleed-through, consider a shellac-based primer. | Use a high-quality stain-blocking primer designed for cabinets and allow sufficient drying time between coats. |
| Brush Strokes | Using a low-quality brush, applying paint too thickly, or failing to smooth out brush strokes between coats. | Lightly sand the affected areas with fine-grit sandpaper after the paint has fully dried. Re-apply a thin coat of paint, working in the direction of the wood grain. | Use a high-quality brush or roller designed for smooth finishes; apply paint in thin, even coats; smooth out brush strokes between coats using a light touch. |
